Connecting to Bill.com
Bill.com is a cloud-based spend management and expense platform that streamlines financial operations by automating payables, receivables, approvals, and expense tracking. It is widely used by finance teams for accounts payable (AP) and accounts receivable (AR) management, offering visibility, efficiency, and compliance across financial workflows.
Integrating Bill.com with Skypoint AI goes beyond simple data synchronization. This connection empowers organizations with AI-driven financial intelligence, real-time insights, and automated decision-making. The integration allows finance teams to:
Automate Financial Workflows: Reduce manual data entry by syncing invoices, bills, and payments directly into Skypoint AI’s ecosystem.
Enhance Compliance & Audit Readiness: Leverage AI to detect anomalies, flag potential risks, and maintain an accurate audit trail.
Gain Predictive Financial Insights: Use predictive analytics to forecast cash flow, identify payment trends, and optimize vendor management.
Streamline Approvals & Reporting: Provide finance staff with real-time dashboards, personalized financial reporting, and proactive alerts for upcoming due dates or unusual activity.
Empower Decision-Making: Combine Bill.com’s transaction-level data with Skypoint AI’s unified data layer for smarter financial planning and cross-departmental insights.
The Bill.com–Skypoint AI connector ensures that financial data is not just transferred, but transformed into actionable intelligence that strengthens compliance, improves operational efficiency, and provides leadership with the foresight needed for strategic growth.
Prerequisite
You need the following detail to configure and import data using the Bill connector
- ApiToken
To Import data using Azure Synapse Analytics
Follow these steps to create and configure a new dataflow for the Bill import connector:
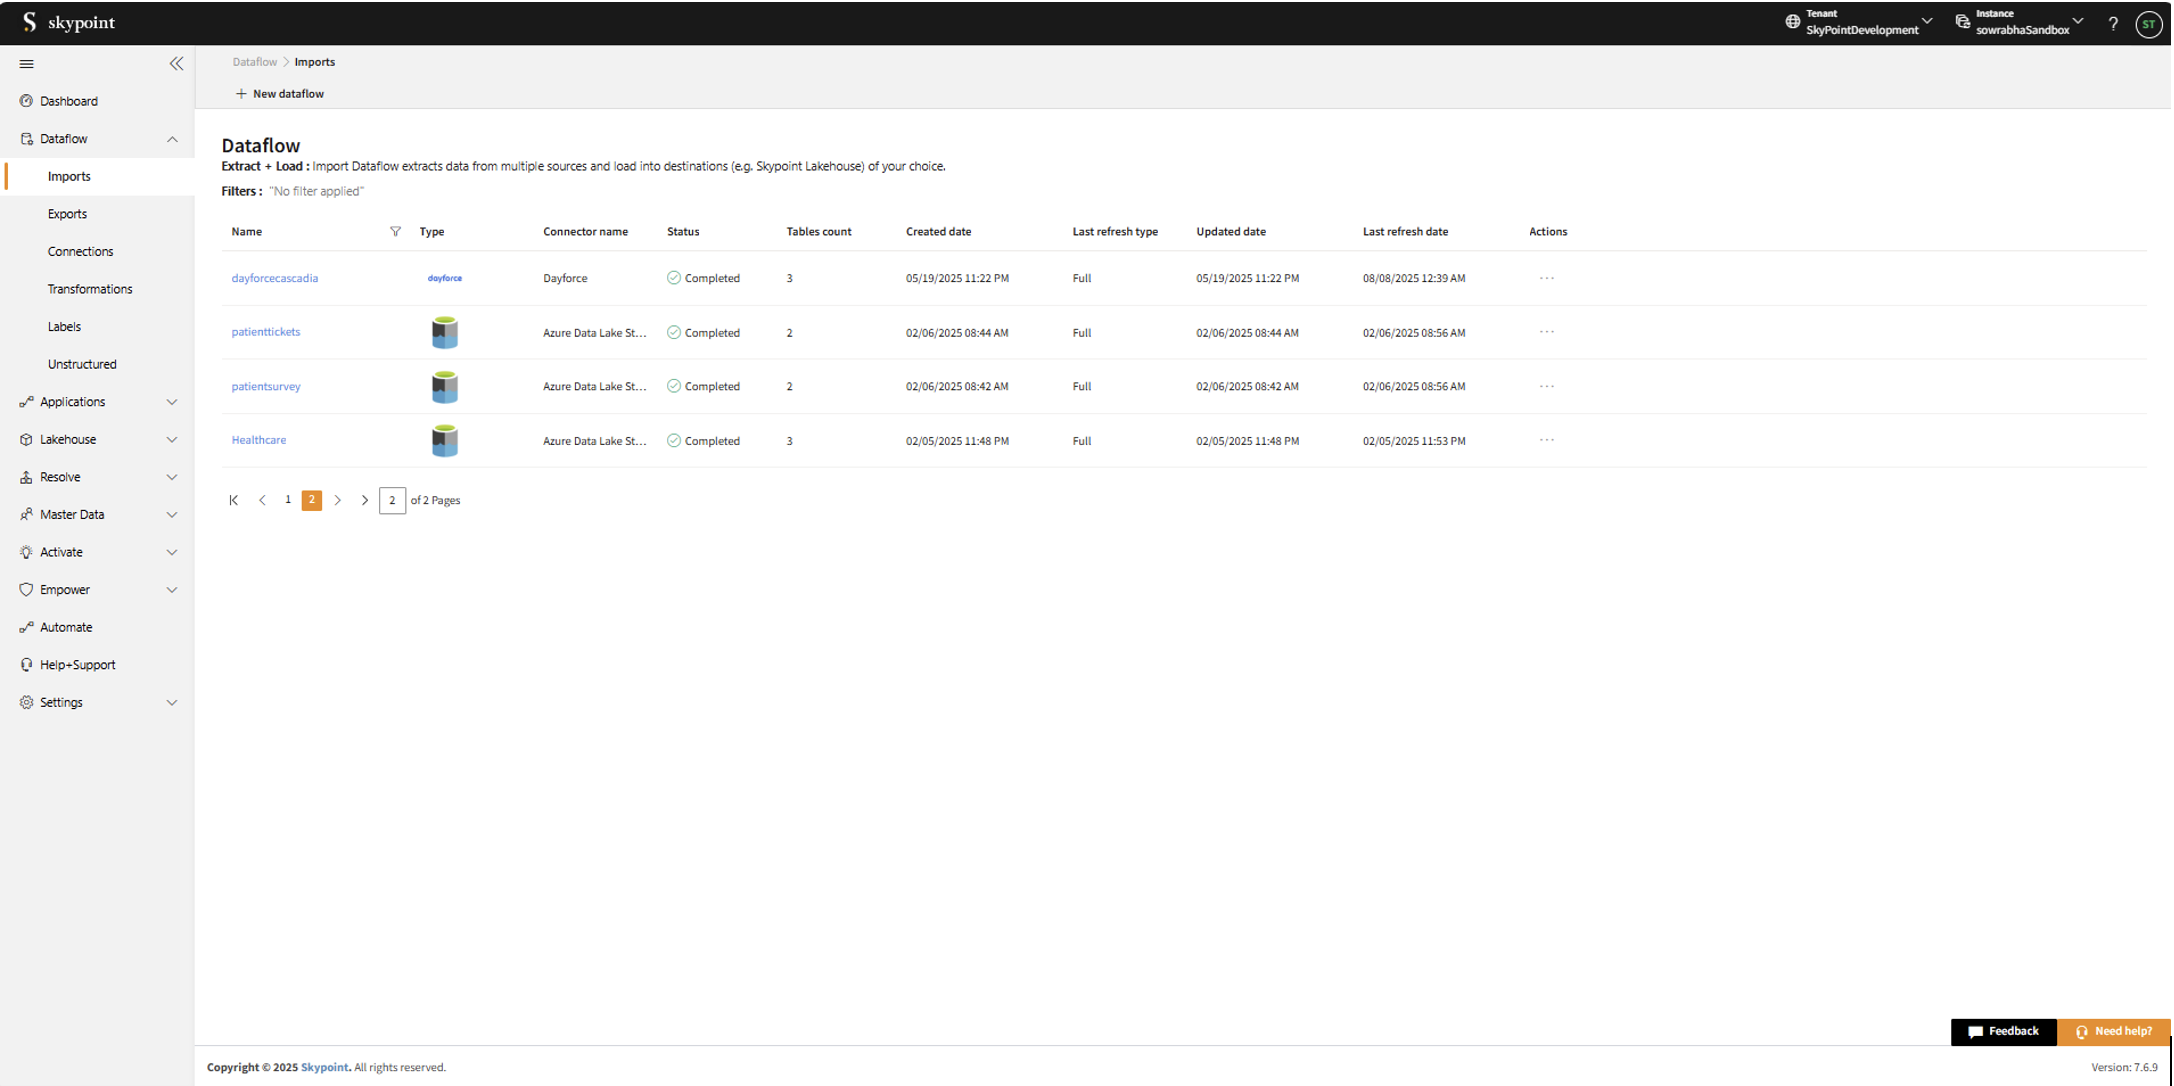
- Go to Dataflow > Imports.
- Click New dataflow.
The Set dataflow name page appears.
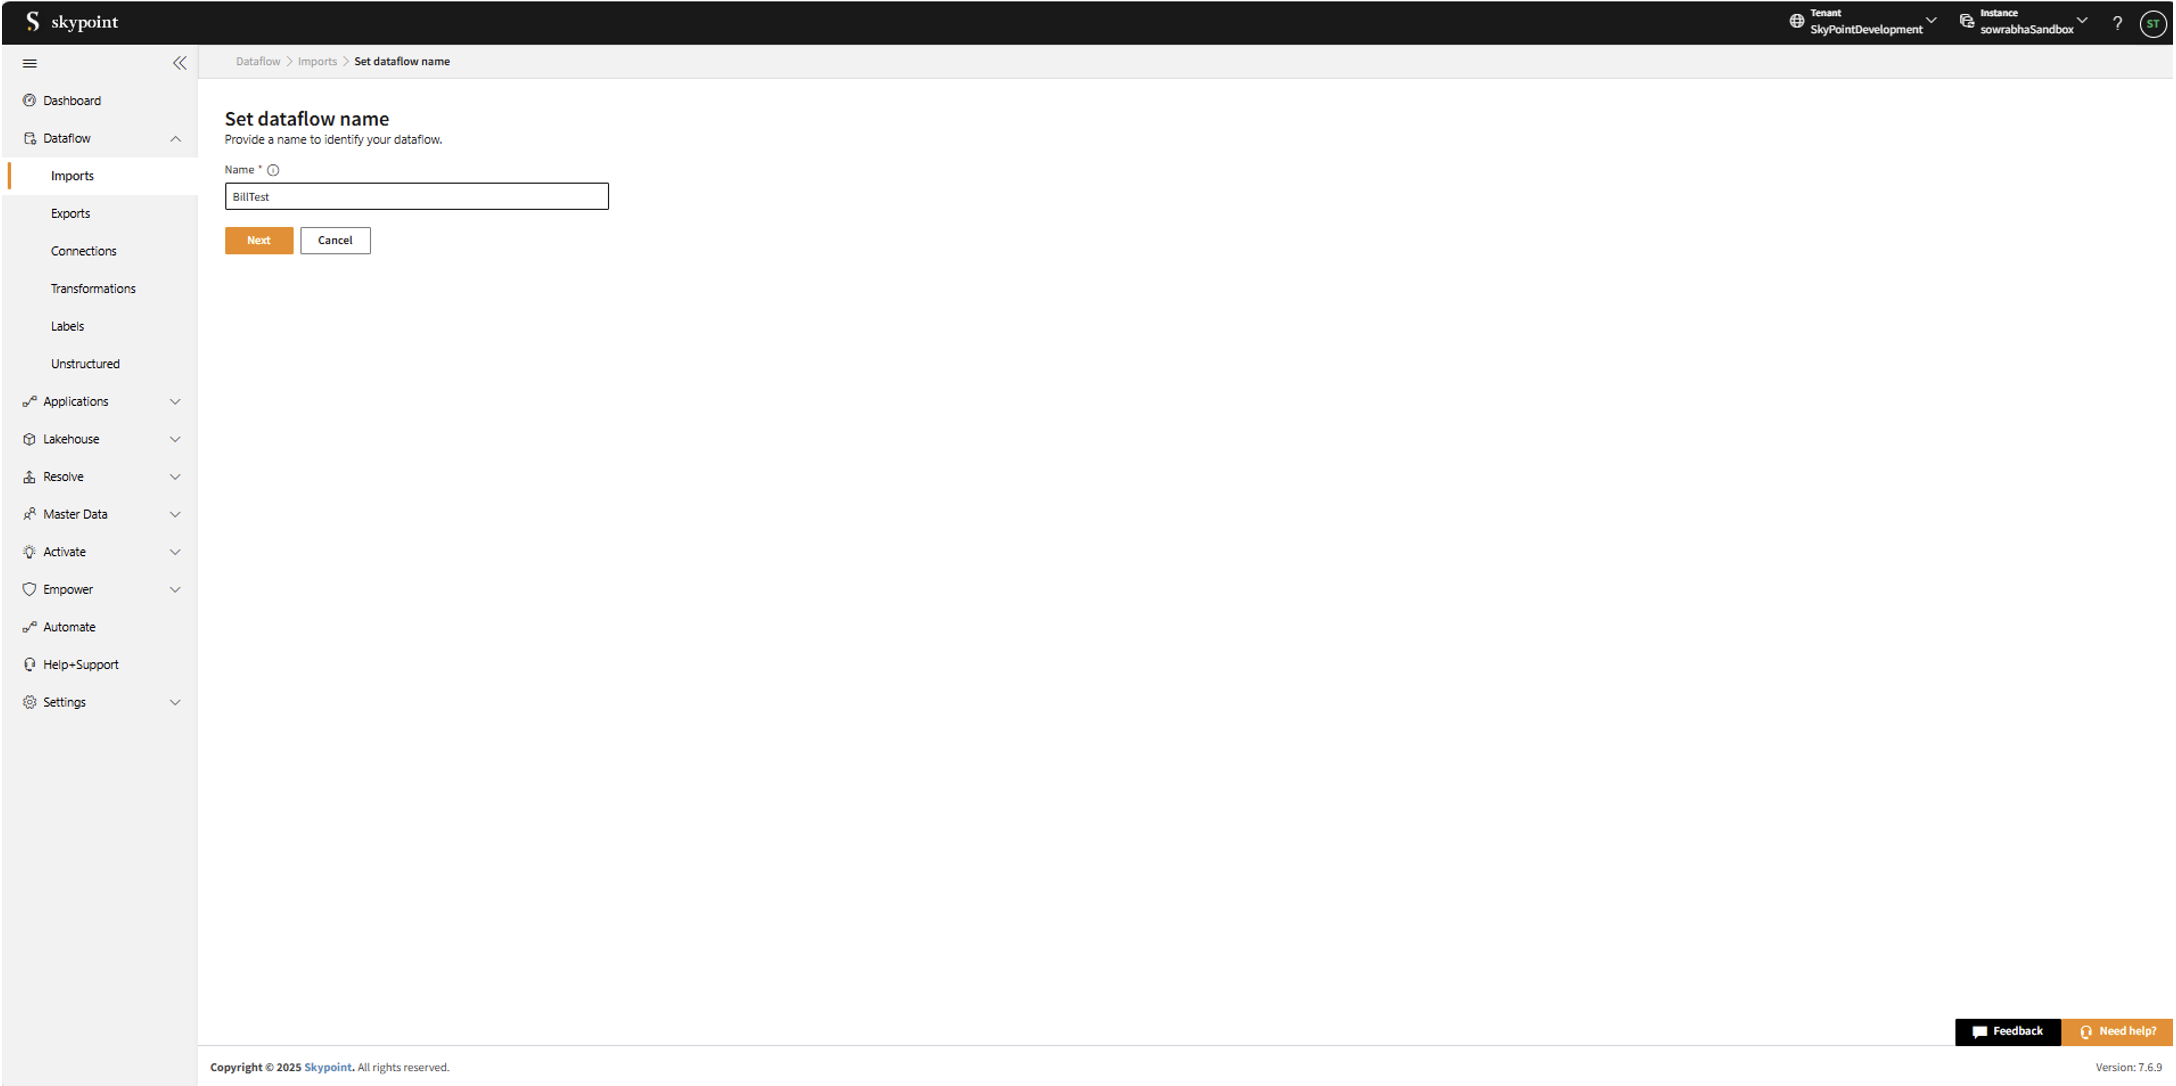
- Enter Dataflow name in the Name text area.
- Click Next.
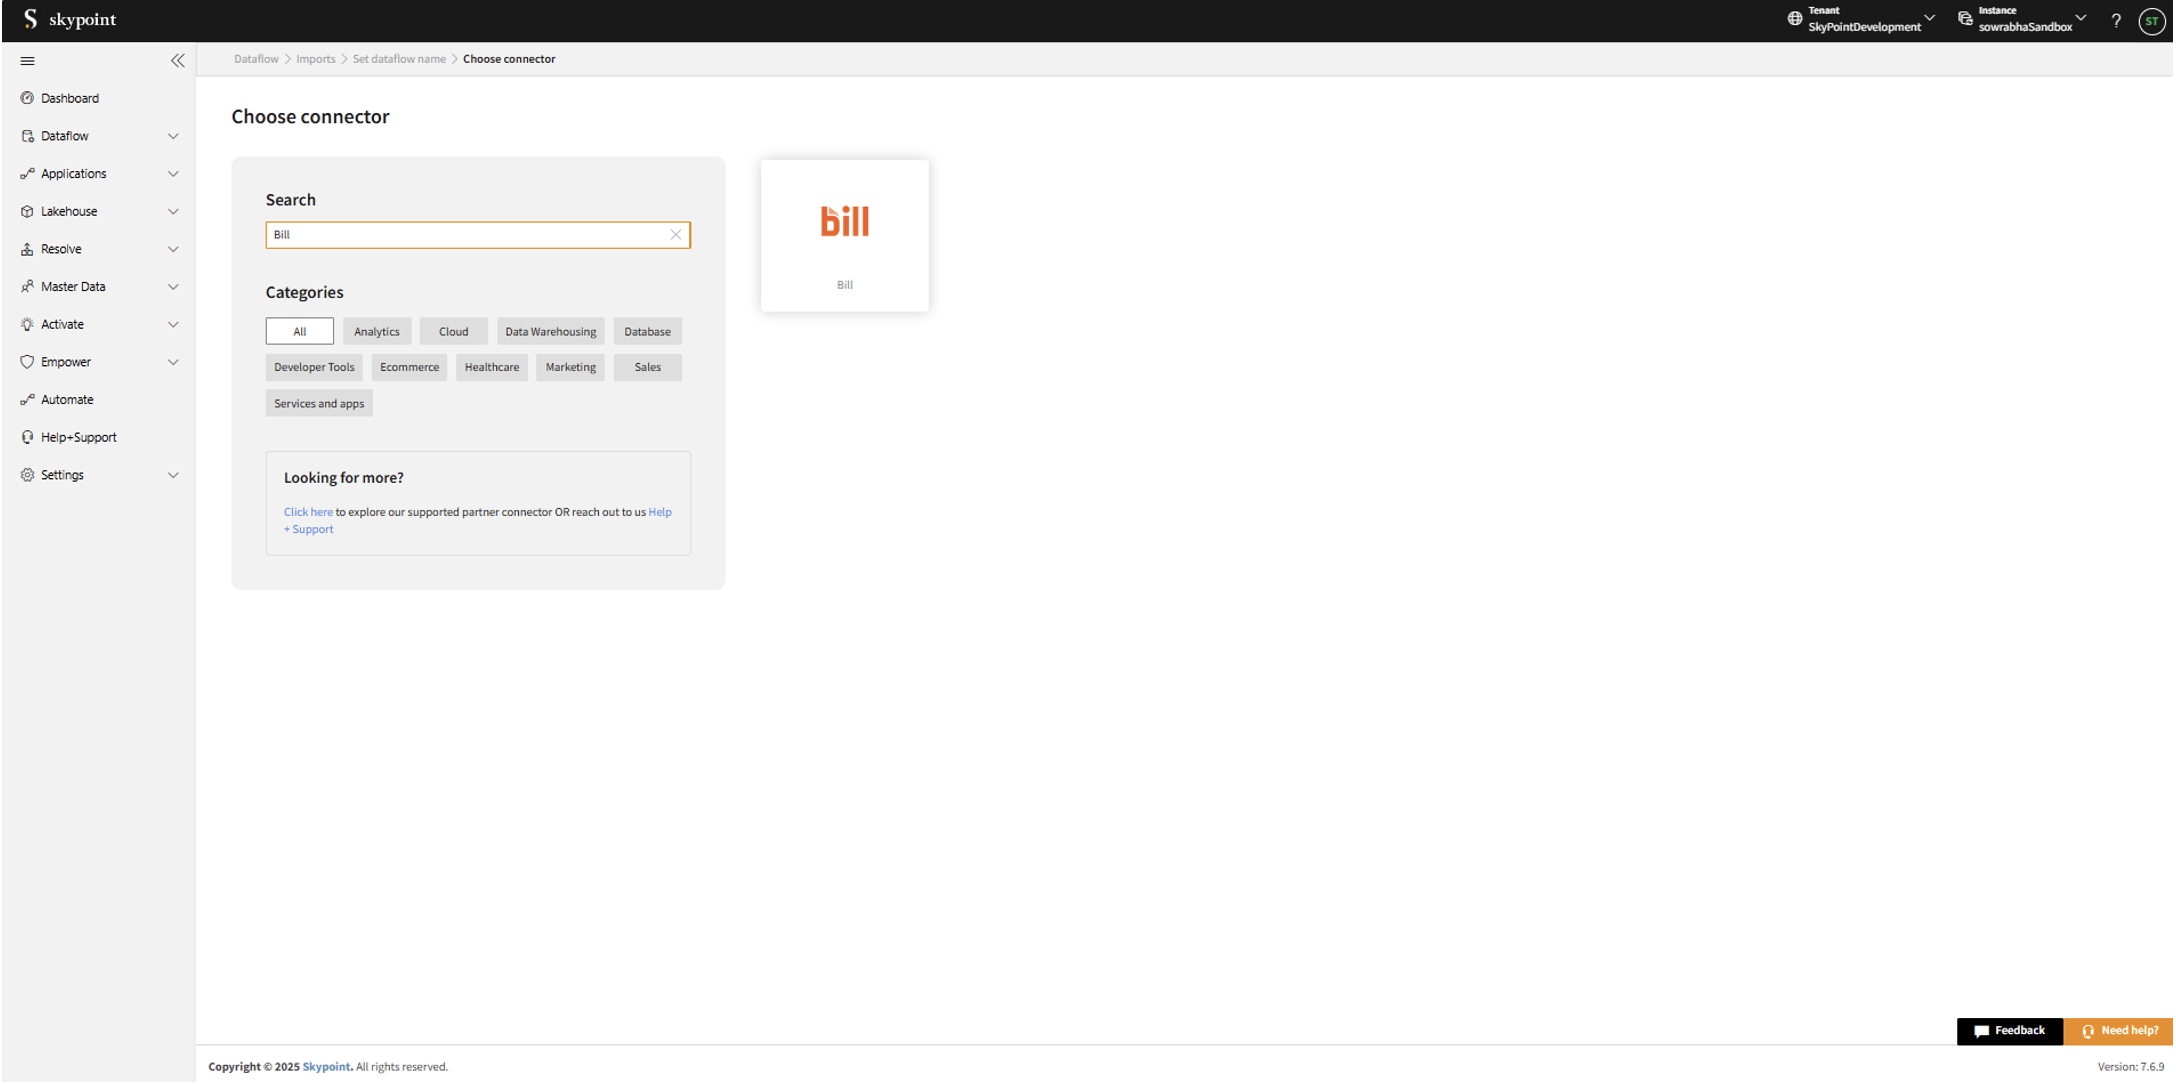
The Choose connector page appears.
Add Bill connector
- On the Choose Connector page, use the Search feature to locate and select the Bill Connector.

- Enter the Display Name for your dataflow in the text area.
- You can add a Description in the text area.
- Click Next to proceed.
The Configuration page appears.
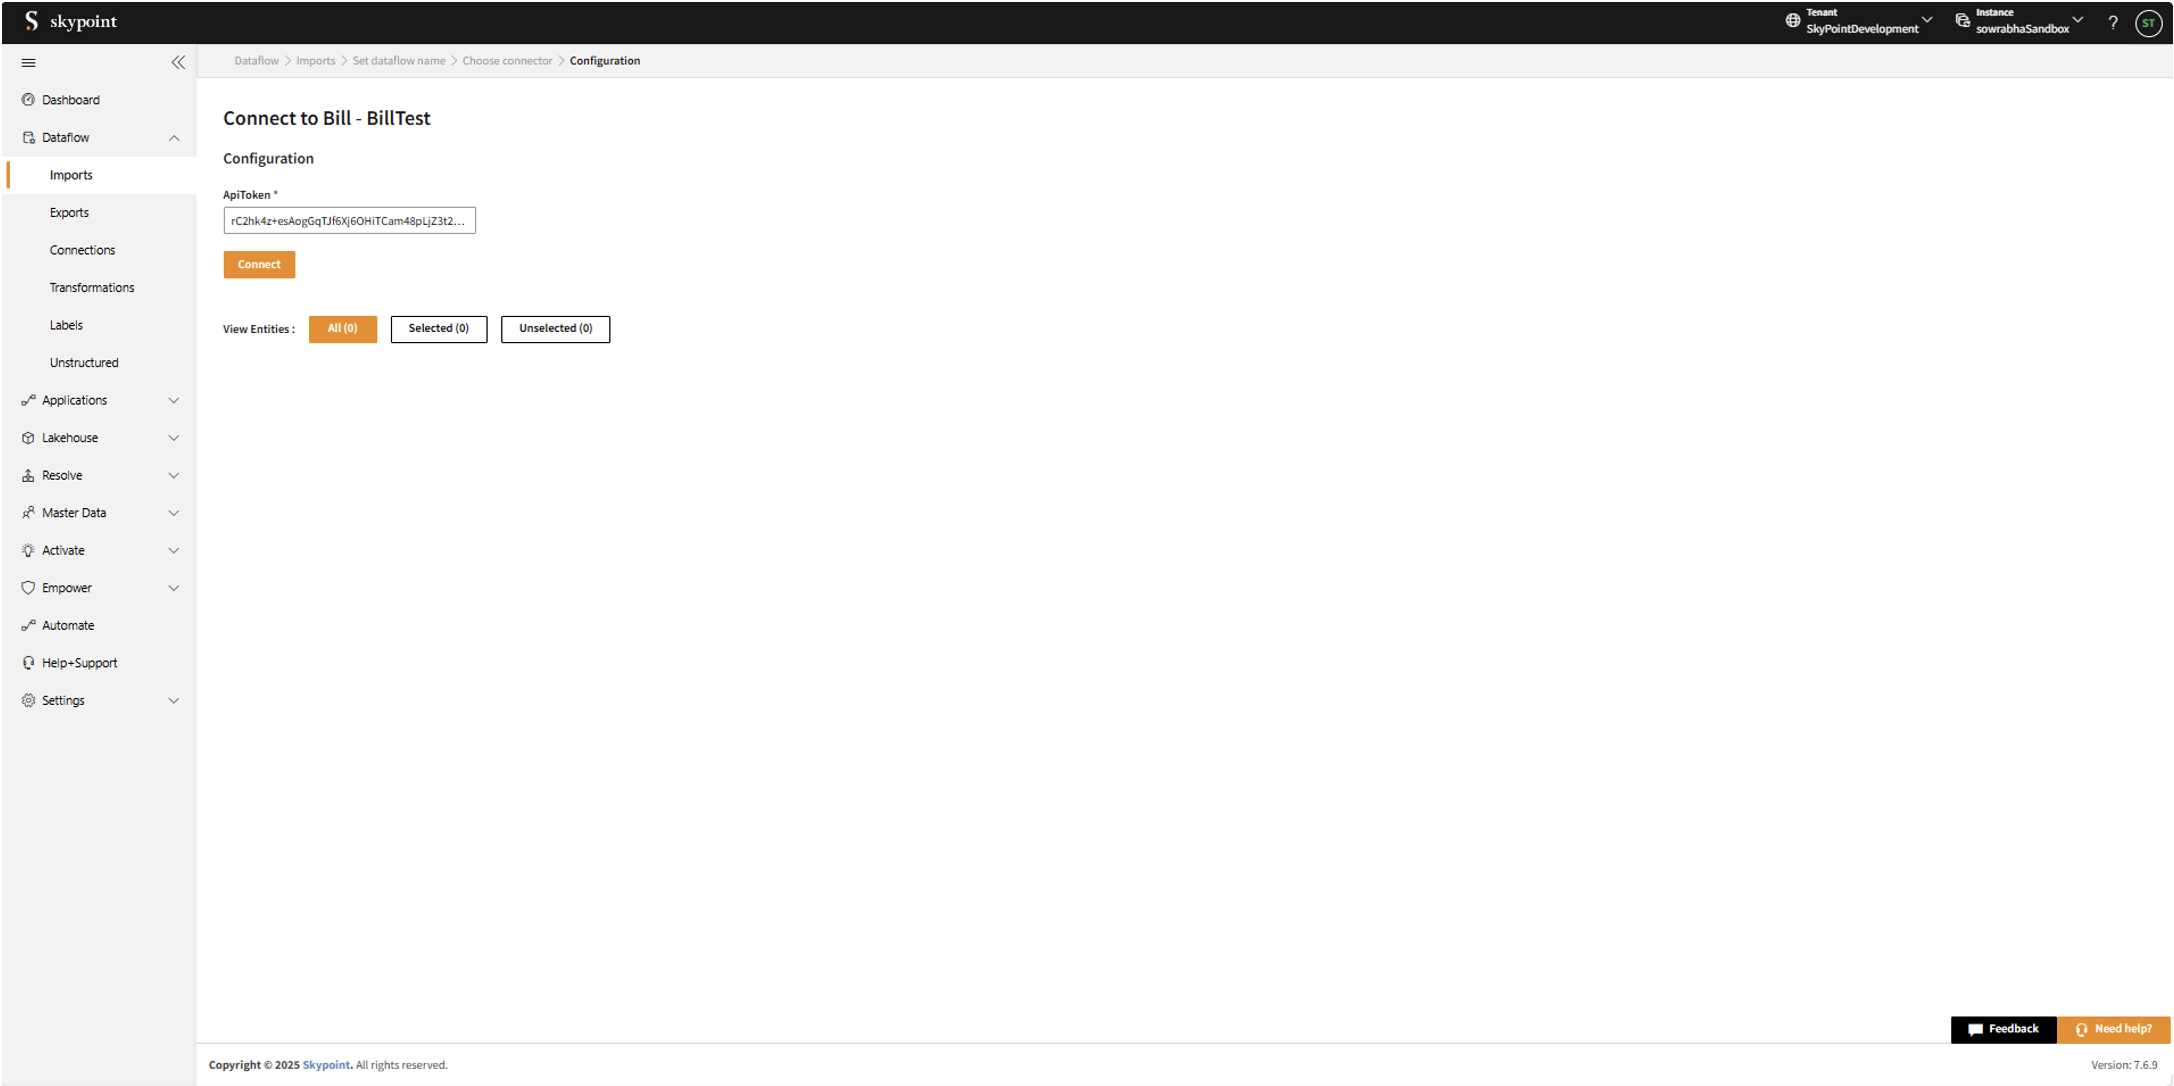
Connect to the Bill account
- Fill in the required details on the Configuration page.
- Click Connect.
Once the connection is established, the connector can be used to import data from Bill tables.

- Scroll down to the Table Details section, select the checkboxes for the tables you wish to import, and use the dropdown menu to label them as either Data or Metadata.
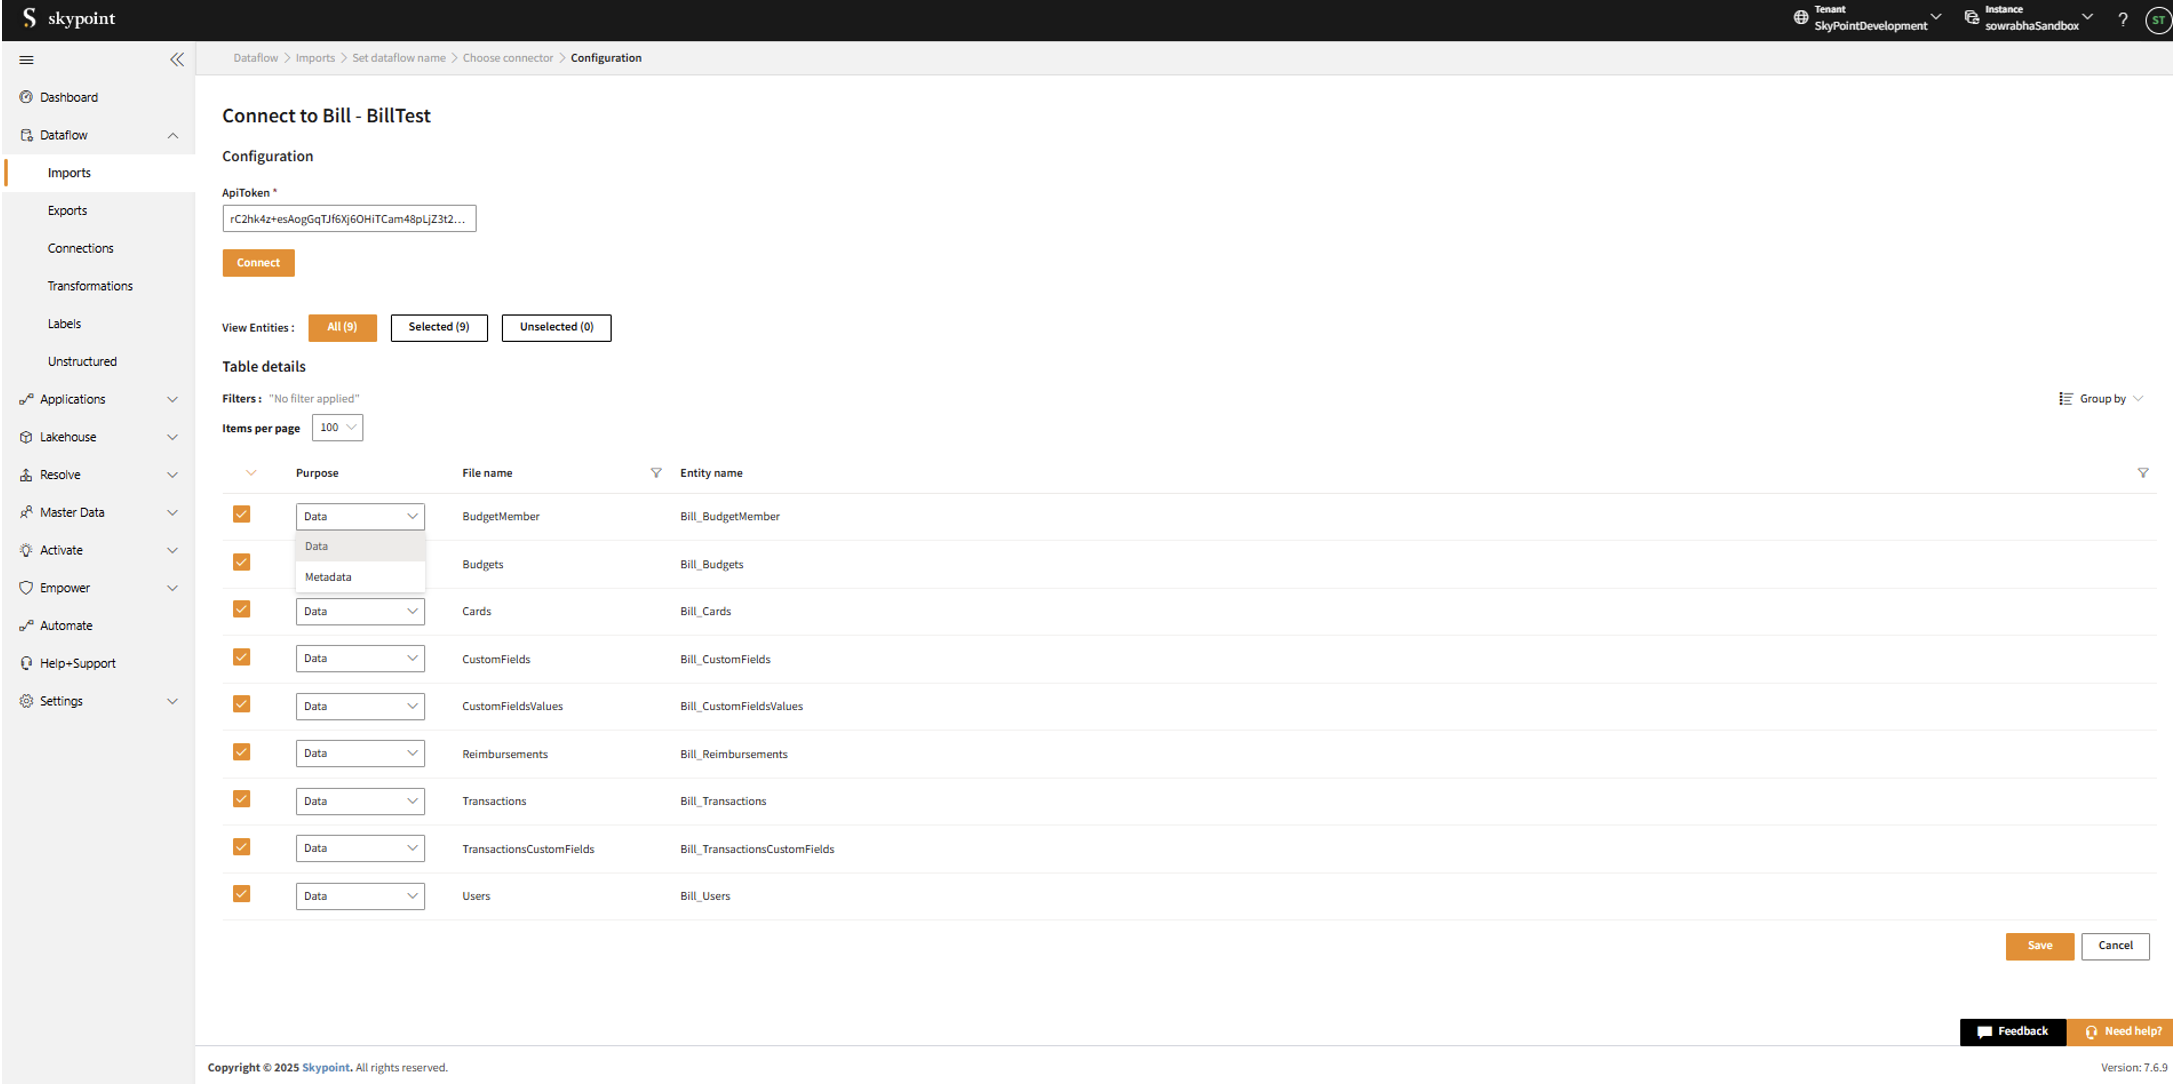
In the Table Details section, by default, all tables are selected. You can mark only those tables that you want to import and process the data. For example, to import customer data, you can check those tables which contain customer information, such as name, email, address, and contact details.
| Item | Description |
|---|---|
| Purpose | Option to assign a purpose (Data or Metadata) for each table. table. |
| Data | Loads customer data data |
| Metadata | Loads Metadata Metadata |
| File name | Displays the name of the file that you imported. imported. |
| Entity name | Displays the imported table name by default. You can rename it if required. |
- Click Save to apply the changes.

Congratulations ! for saving the BILL connector dataflow, which appears on the Dataflow > Imports page.
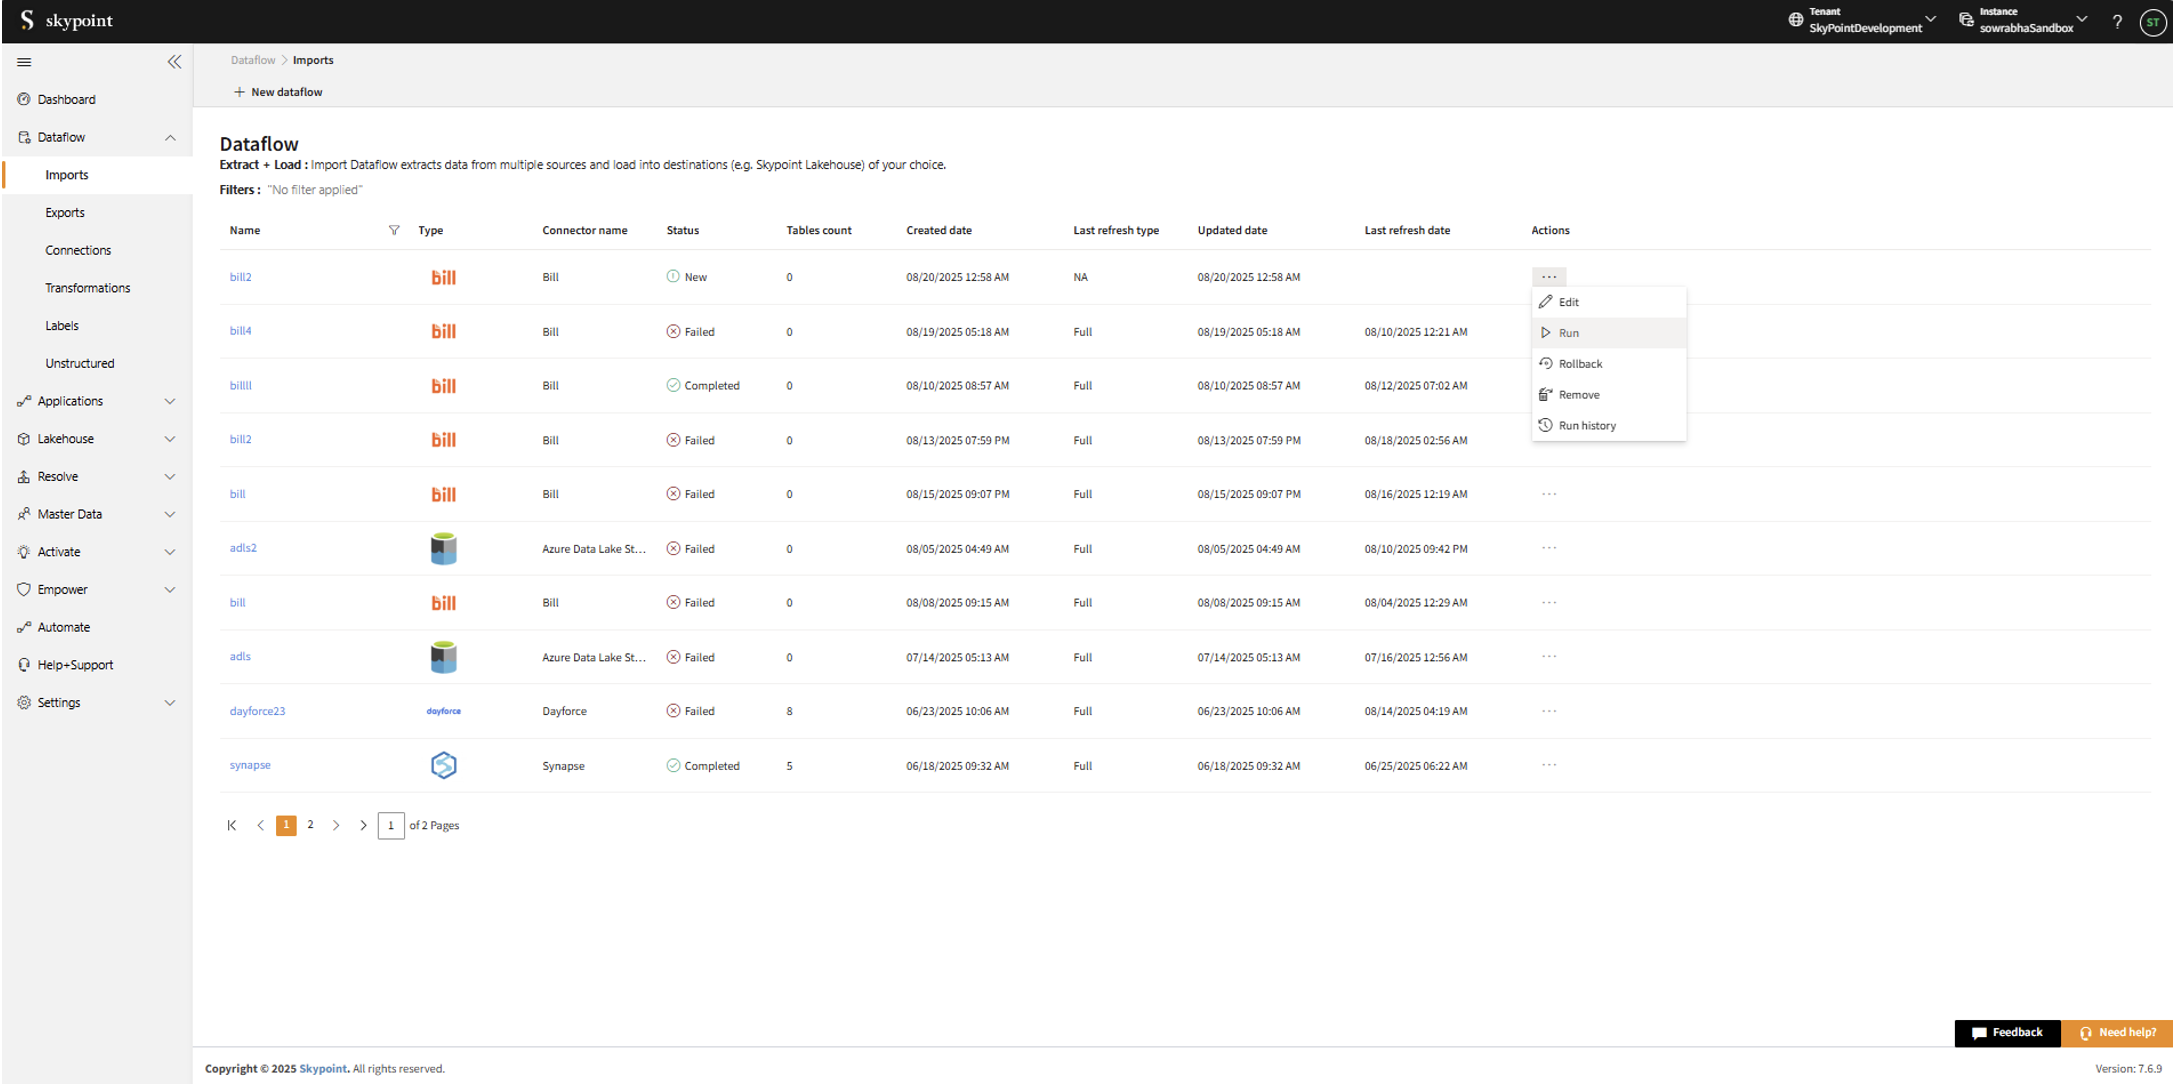
Run, edit, and delete the imported data
Once the table is imported, you can execute, modify, and remove the imported table from the Dataflow. Follow the below steps:
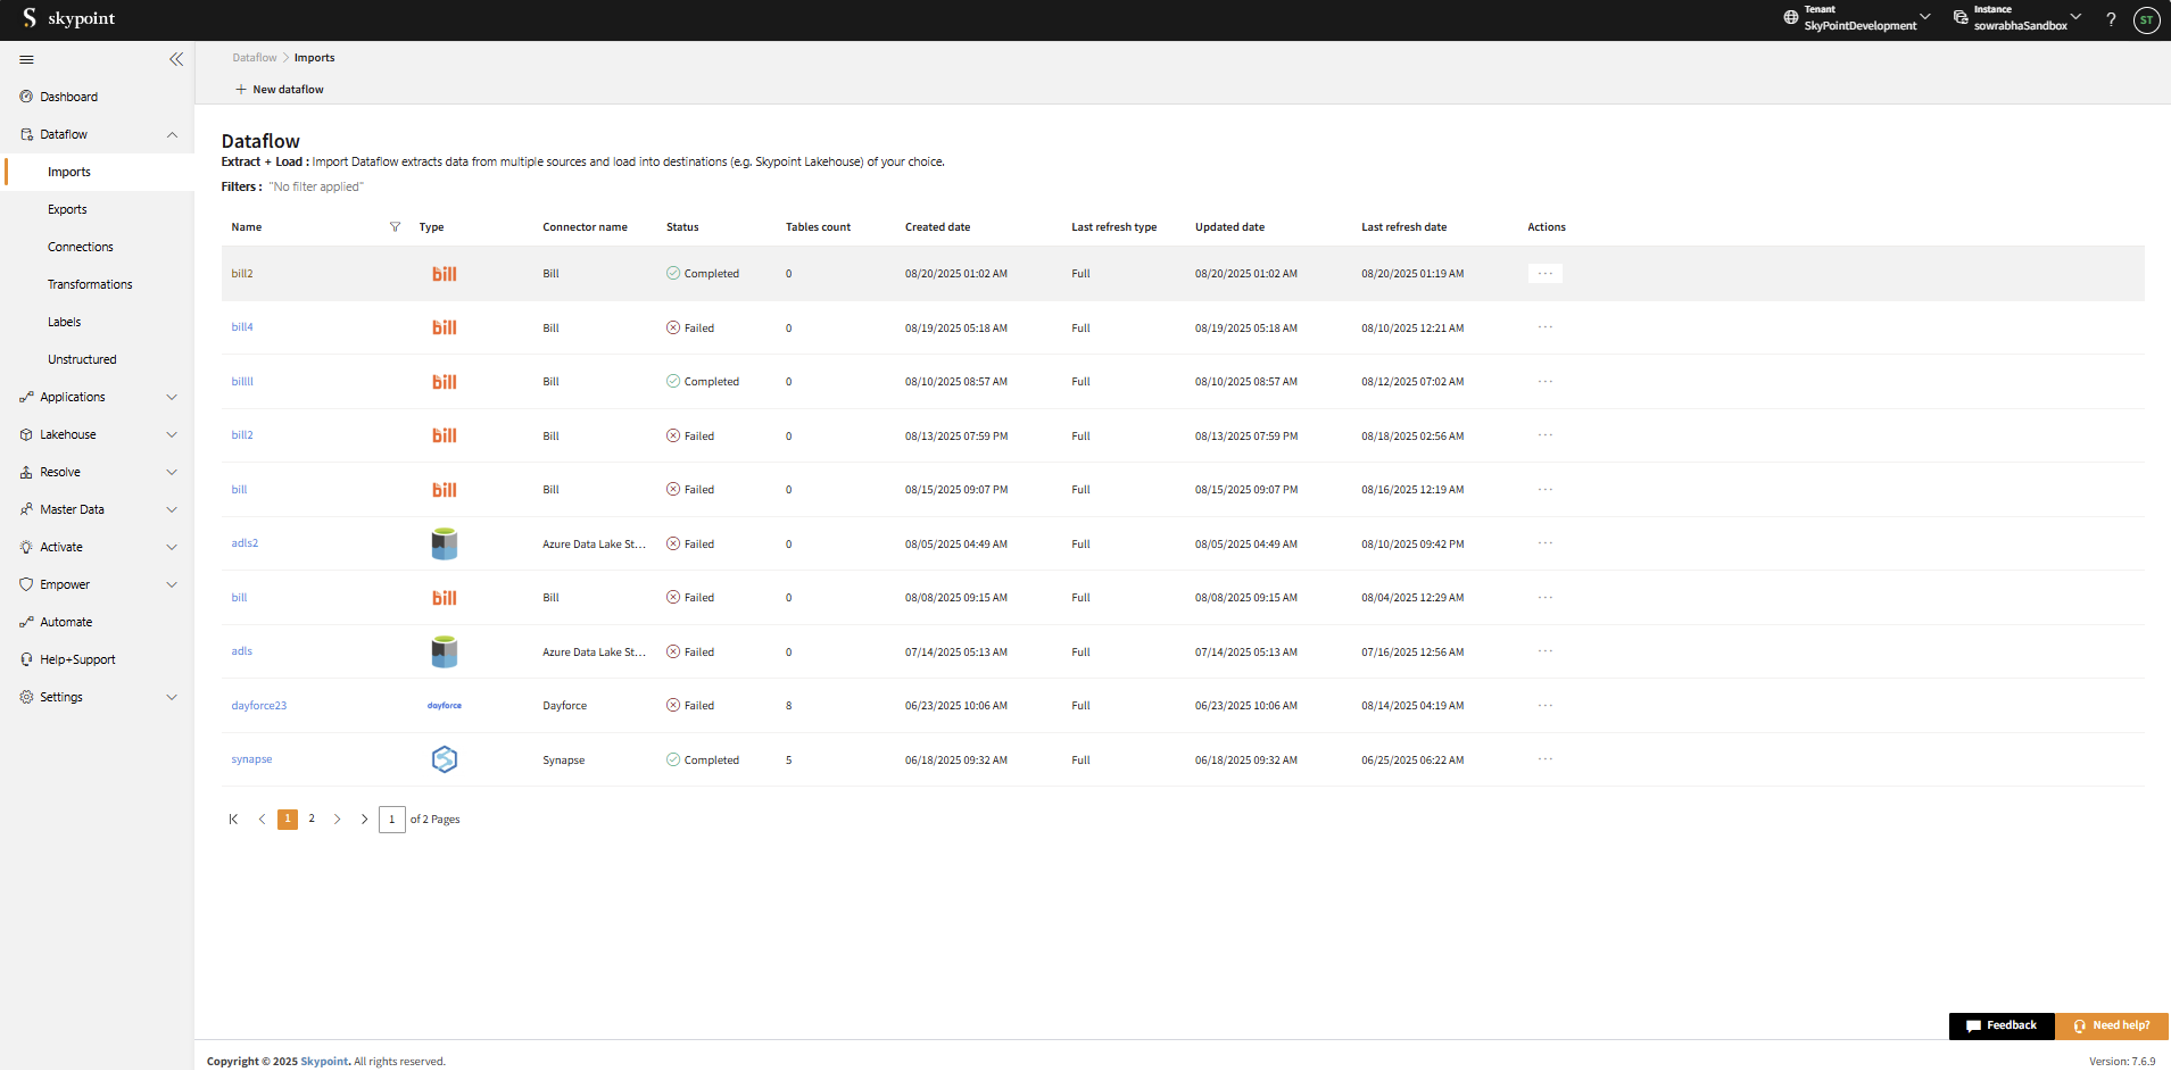
- Go to the Dataflow > Imports page.
| Item | Description |
|---|---|
| Name | Displays the name of the imported Dataflow. Dataflow. |
| Type | Displays connector type symbol. symbol. |
| Connector Name | Displays connector name. successfully. |
| Status | Indicates whether the data is imported successfully. imported. |
| Tables Count | Displays the number of tables imported. creation. |
| Created Date | Displays date of creation. Incremental. |
| Last Refresh Type | Displays the refresh value: Full or Incremental. date. |
| Updated Date | Displays last modified date. |
| Last Refresh | Displays the latest refresh date, which updates each time you refresh the data. |
| Actions | Provides multiple options for managing dataflows. |
- Select the horizontal ellipsis under the Actions column and do the following:
| If you want to | Then |
|---|---|
| Modify the Dataflow | Select Edit and modify the Dataflow. Click Save to apply your changes. |
| Execute the Dataflow | Select Run. |
| Bring the data to its previous state | Select Rollback. |
| Delete the Dataflow | Select Remove and then click the Delete button. All tables in the data source get deleted. |
| See the run history of the Dataflow | Select Run history. |
You can see the error message corresponding to failure while importing data from a data source in the Dataflow under Run History > Description. Also, you can see the status, start time, and end time for the execution of the data pipeline.
Next step
After completing the data import, start the Master Data Management (MDM) - Resolve process to create a single, unified view of the data. With SkyPoint MDM, you can ensure that your data is accurate, consistent, and reliable, making it easier to use for business processes, analytics, and reporting.