Setting up a privacy center
Overview
Skypoint AI-powered privacy center ensures compliance with GDPR, CCPA, and more with our all-in-one automated solution that integrates consent and preference management with data residency and privacy protection. You can import and unify consent data from various sources and channels, manage country- or region-level data residency, and automatically comply with ever-changing privacy laws. Skypoint AI Empower simplifies consent management and privacy compliance by making consumer data and preferences accessible, centralized, and actionable.Set up a privacy center
Follow the below steps to create a privacy center:- In the left pane, go to Empower > Privacy Center.
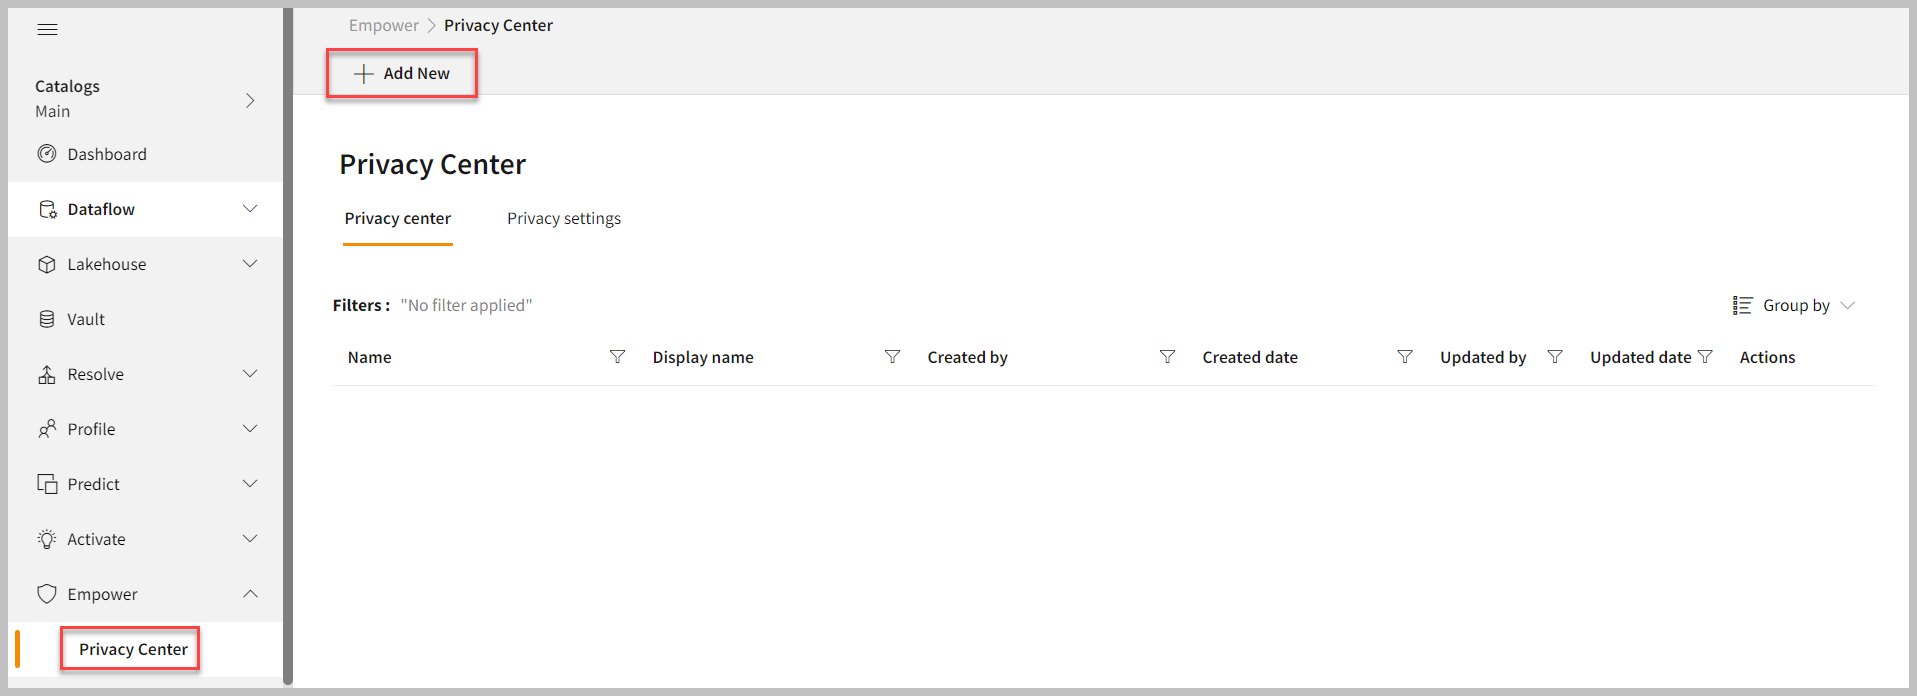
- Click Add New.
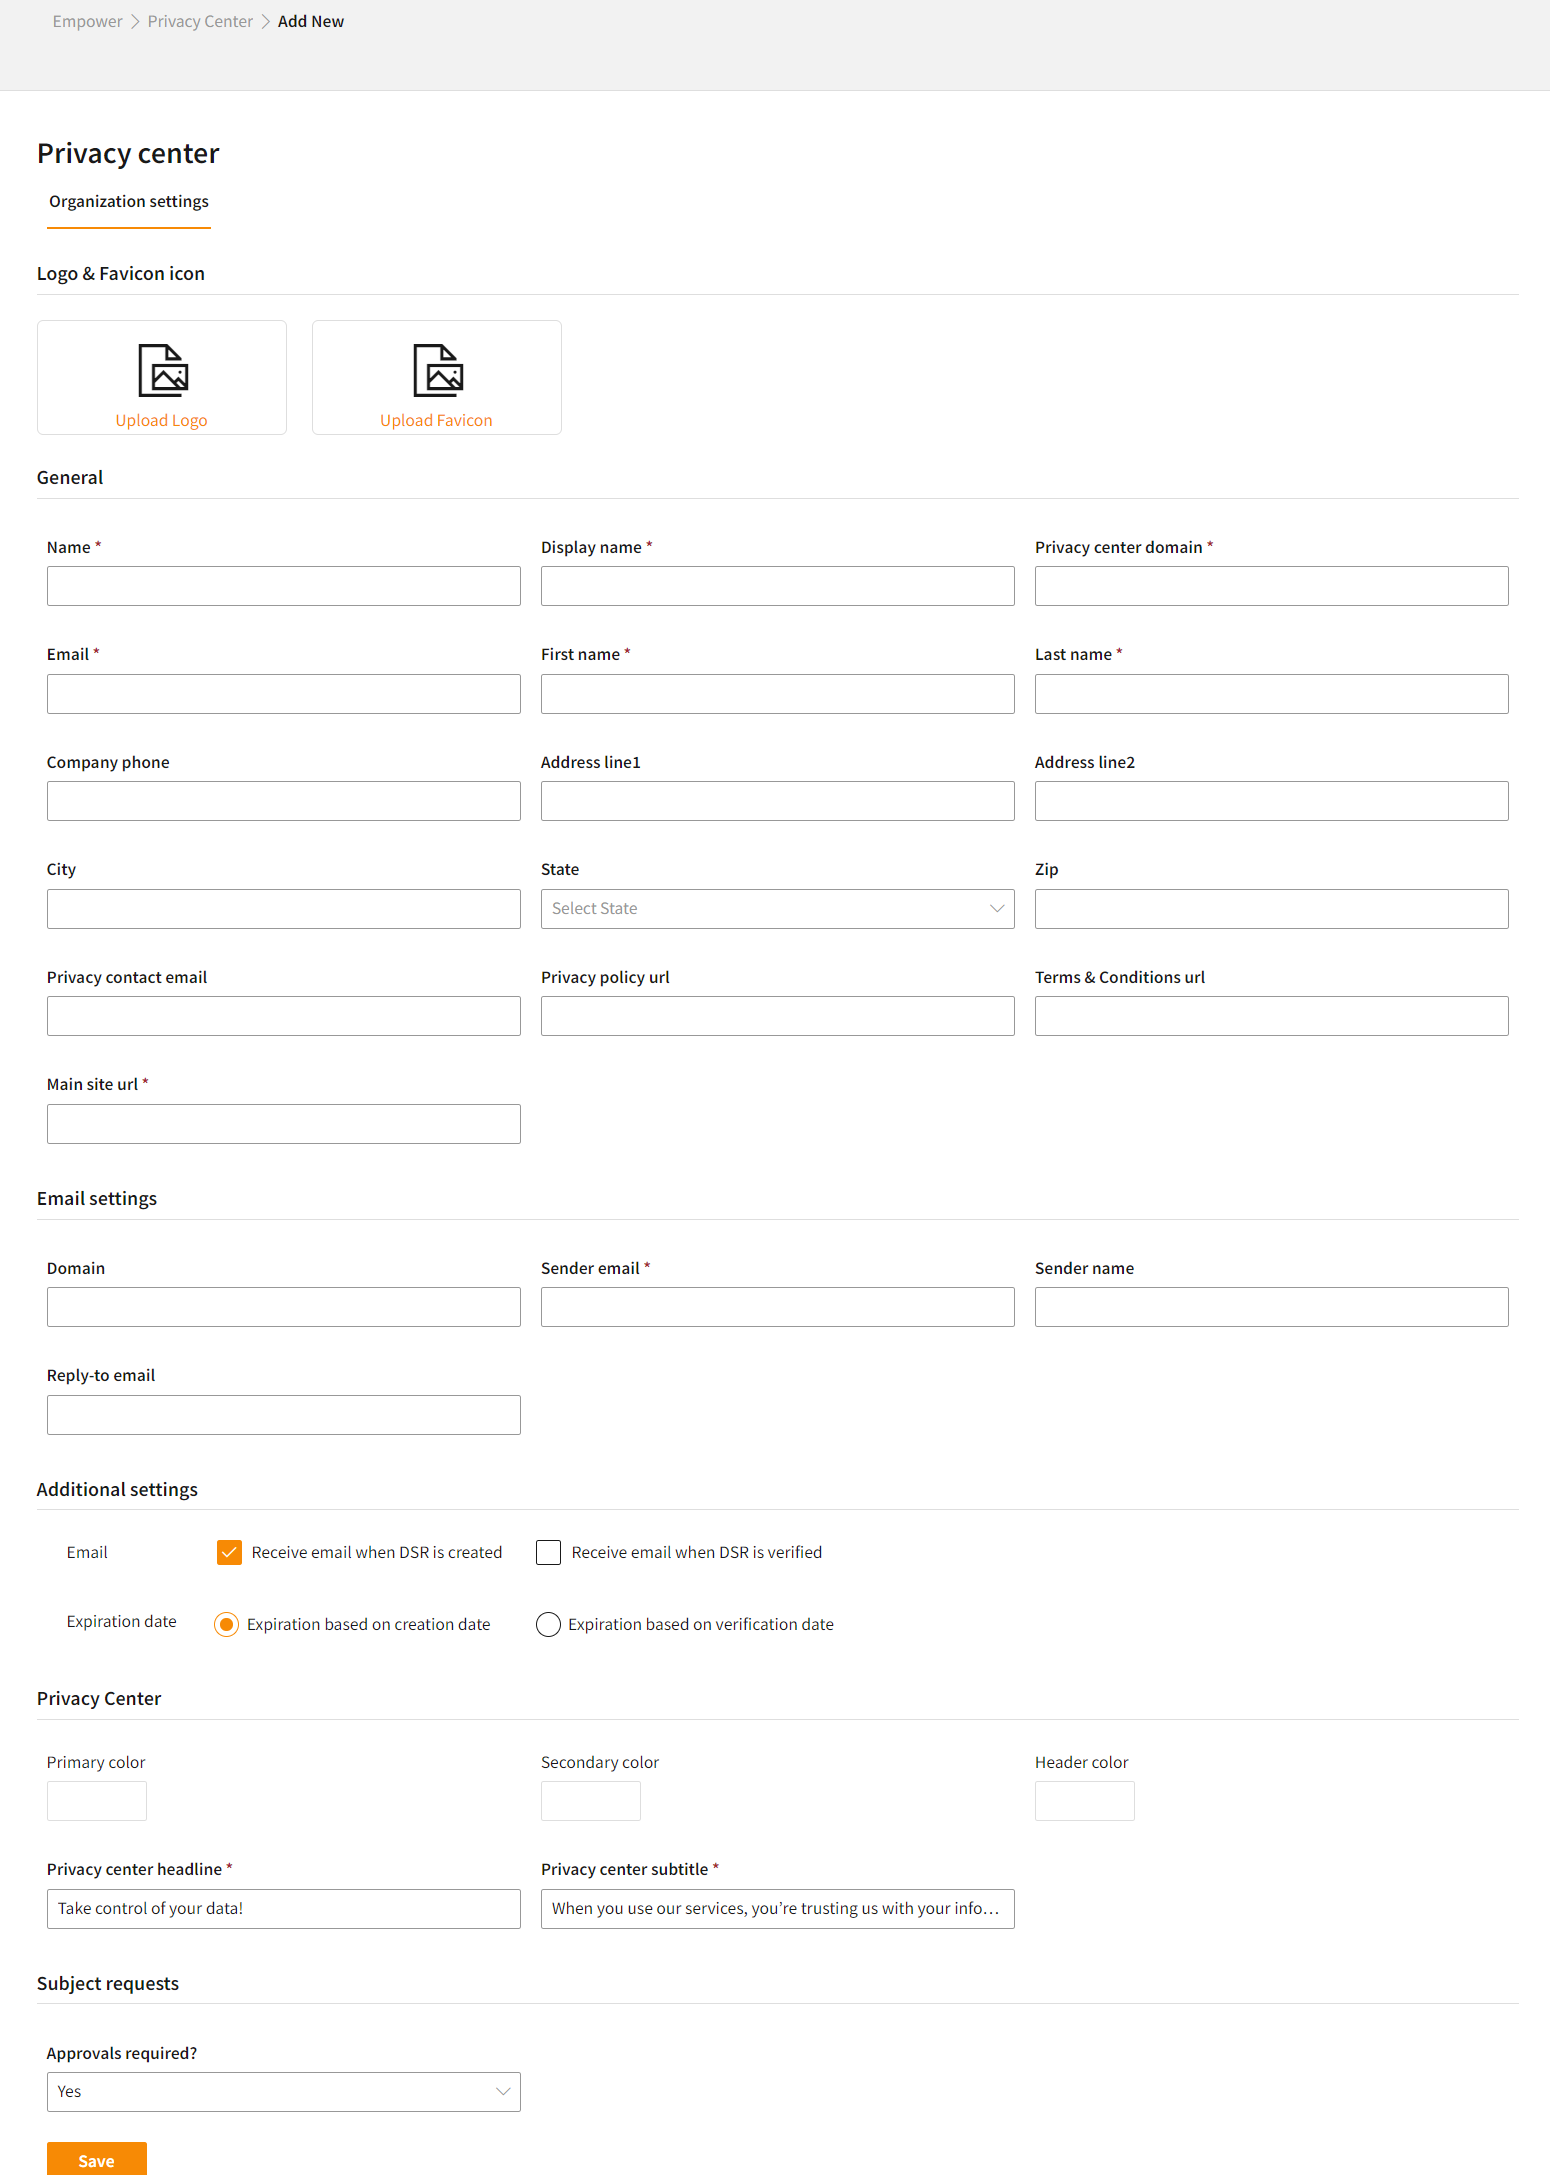
- Upload the Company Logo and Favicon.
- In the General, enter organization details like Name, Display name, Privacy center domain, Email, First Name, Last Name, etc.
- To create a custom domain, follow the steps mentioned in the Create a custom domain tab.
- In the Email settings, enter the Domain and email of the user who is authorized to take the action on DSR.
- In the Additional settings, options to configure email settings for DSR creation, verification and expiration can be set.
- Select a Primary, secondary, and Header color.
You can enter the color code for the privacy center website. The Primary color is used to change the color of the icons. You can apply secondary color to change the text of the page and the Header color modifies the banner found at the top of your Privacy Center.
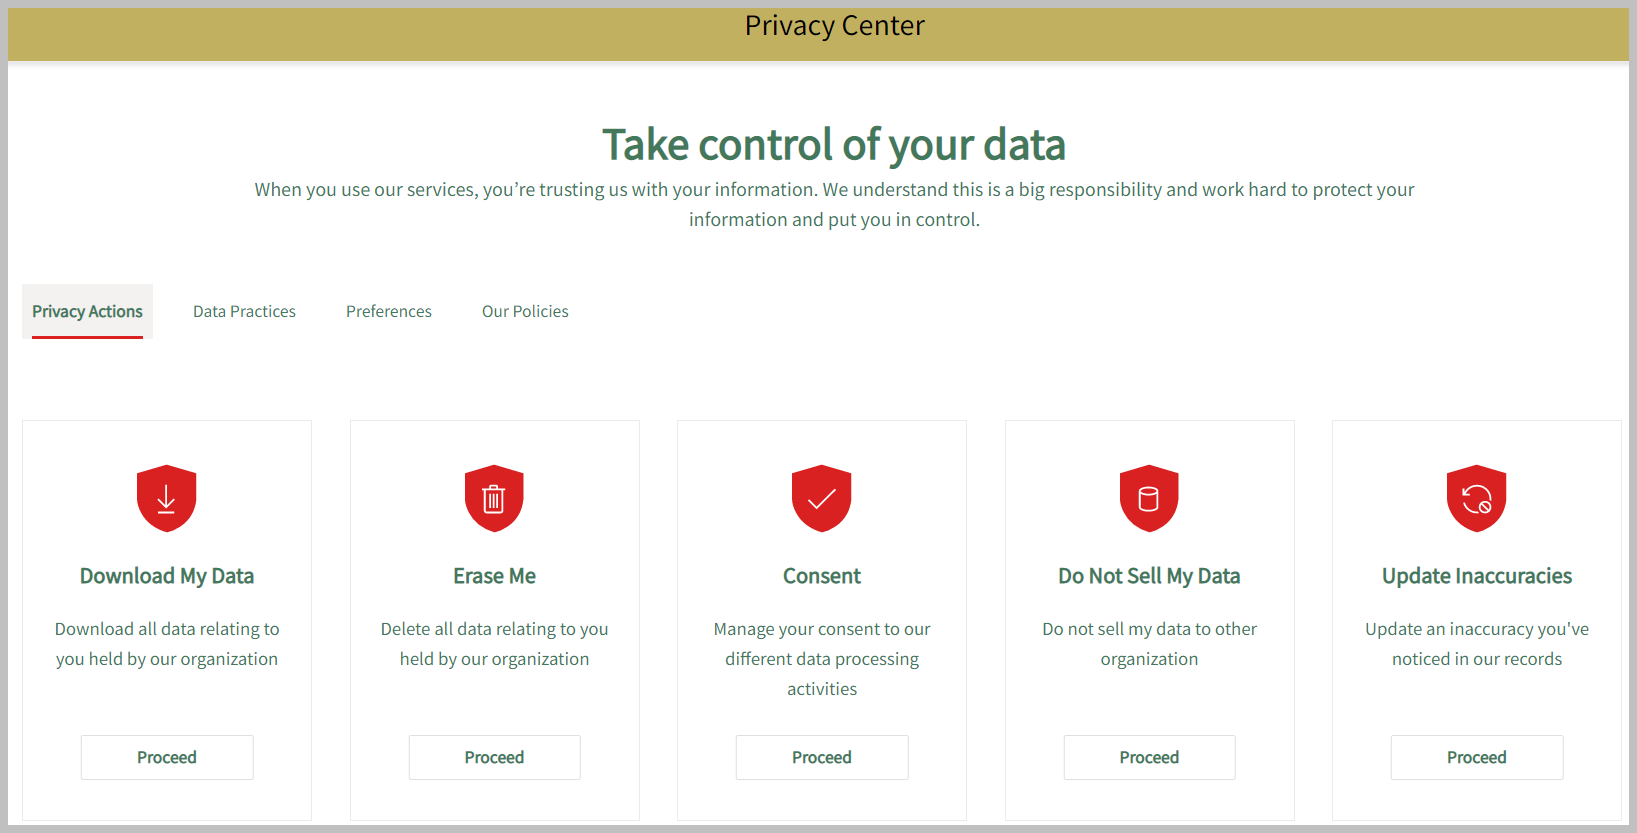
- Enter your Privacy center headline and Privacy center subtitle.
The Privacy center headline displays the main message on the top of the page header. By default, this is set to “Take control of your data!” Below the headline, the Privacy center subtitle describes the importance of data privacy. By default, this is set to “When you use our services, you’re trusting us with your information. We understand this is a big responsibility and work hard to protect your information and put you in control.”
- Select Yes to validate the DSR Request through email. If you select No, the user is not required to verify himself.
- Click Save to apply your changes.
After every section, it is mandatory to click on the SAVE button to process your data.
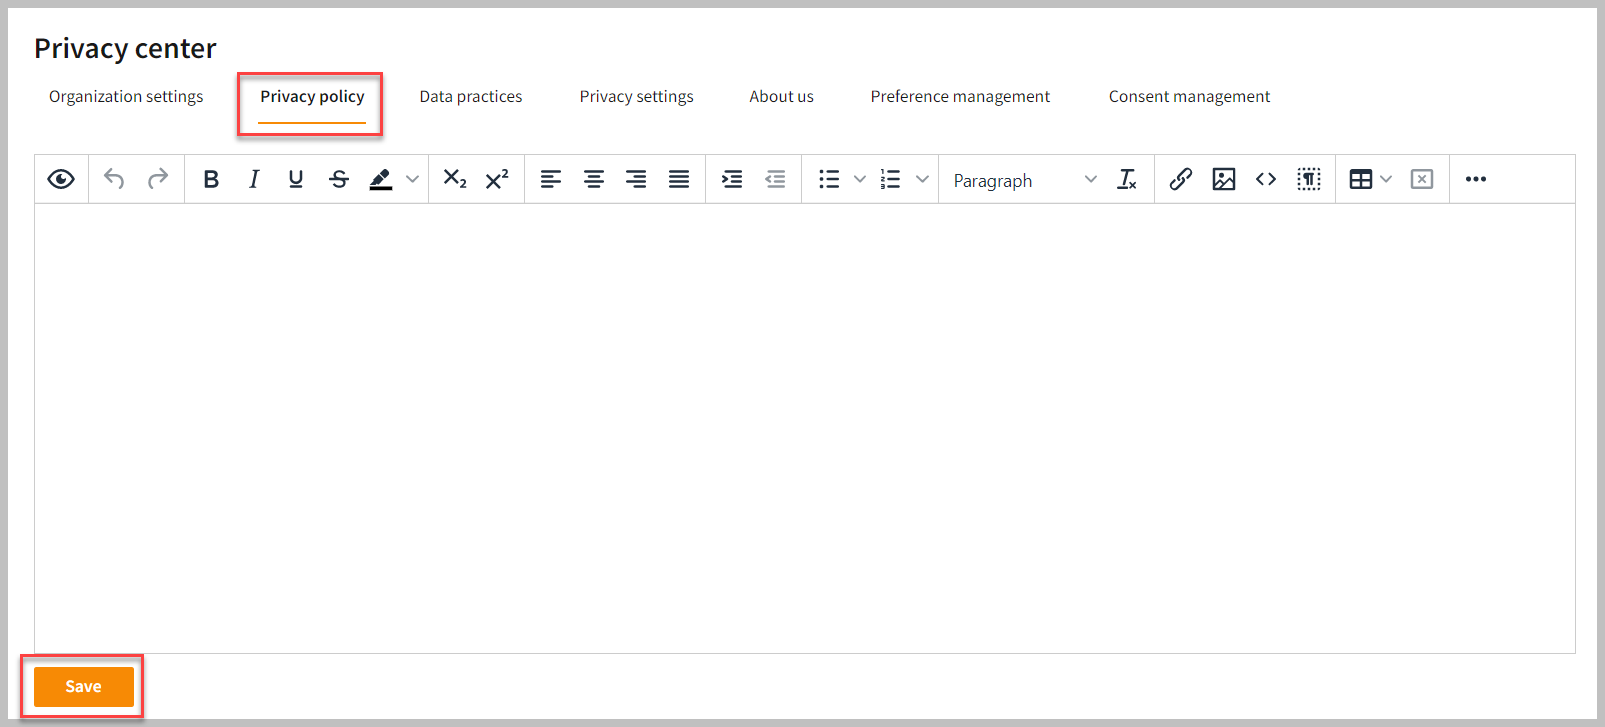
- Enter the Privacy policy of your organization.
- Click Save.
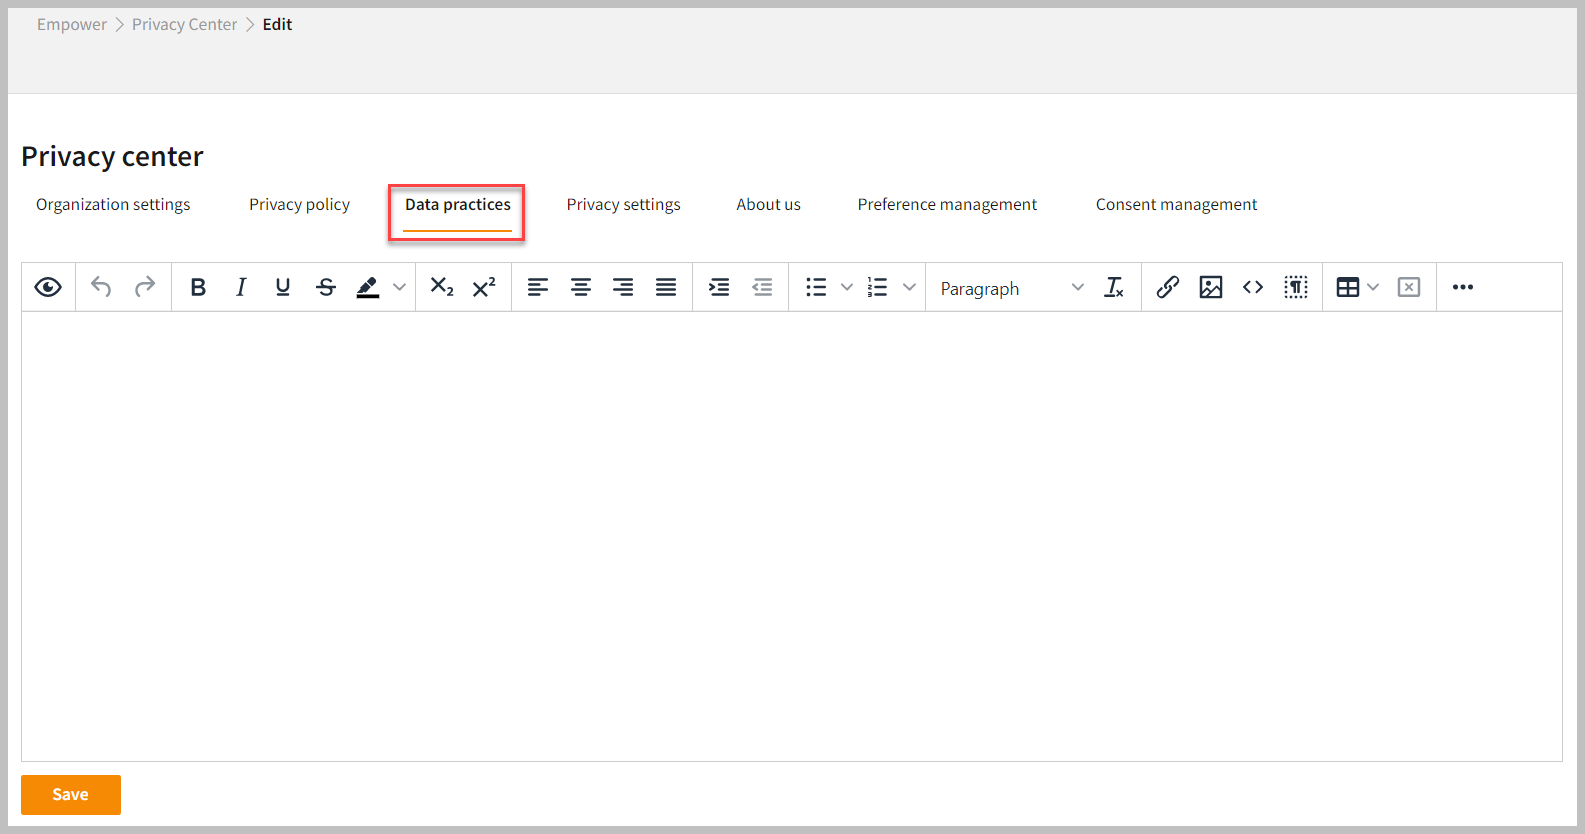
- Enter the Data practices you follow in your organization.
- Click Save.
Create a custom domain
Follow the below steps to create a Custom Domainprivacy.yourcompany.com:
- Go to Azure Portal and search for Static Web Apps.
- Open the desired resource and navigate to the Custom domain.
- Click Add, and you will see a new window where you can get the CNAME record.
- Enter the CNAME record in the DNS server of the host (client’s official website).
Copy that record and send it to the client through Email or Basecamp and ask them to add this to their DNS records where they have hosted their official website. For example, if the client’s official website is hosted on GoDaddy, they have to get the CNAME record and login credentials for their account. Enter the required details to complete the custom domain and secure the privacy center. Refresh the system, and your privacy center will be up and running securely.
- Users can set up DNS records in their domain manager. Log into your domain manager website and insert the following record:
- type: CNAME
- record:
privacy(or your custom subdomain) - value: dynamic (get from Skypoint AI)
Add privacy settings
Follow the below steps to add or modify the Privacy settings of your website:- In the Privacy Center, open the Privacy settings tab.
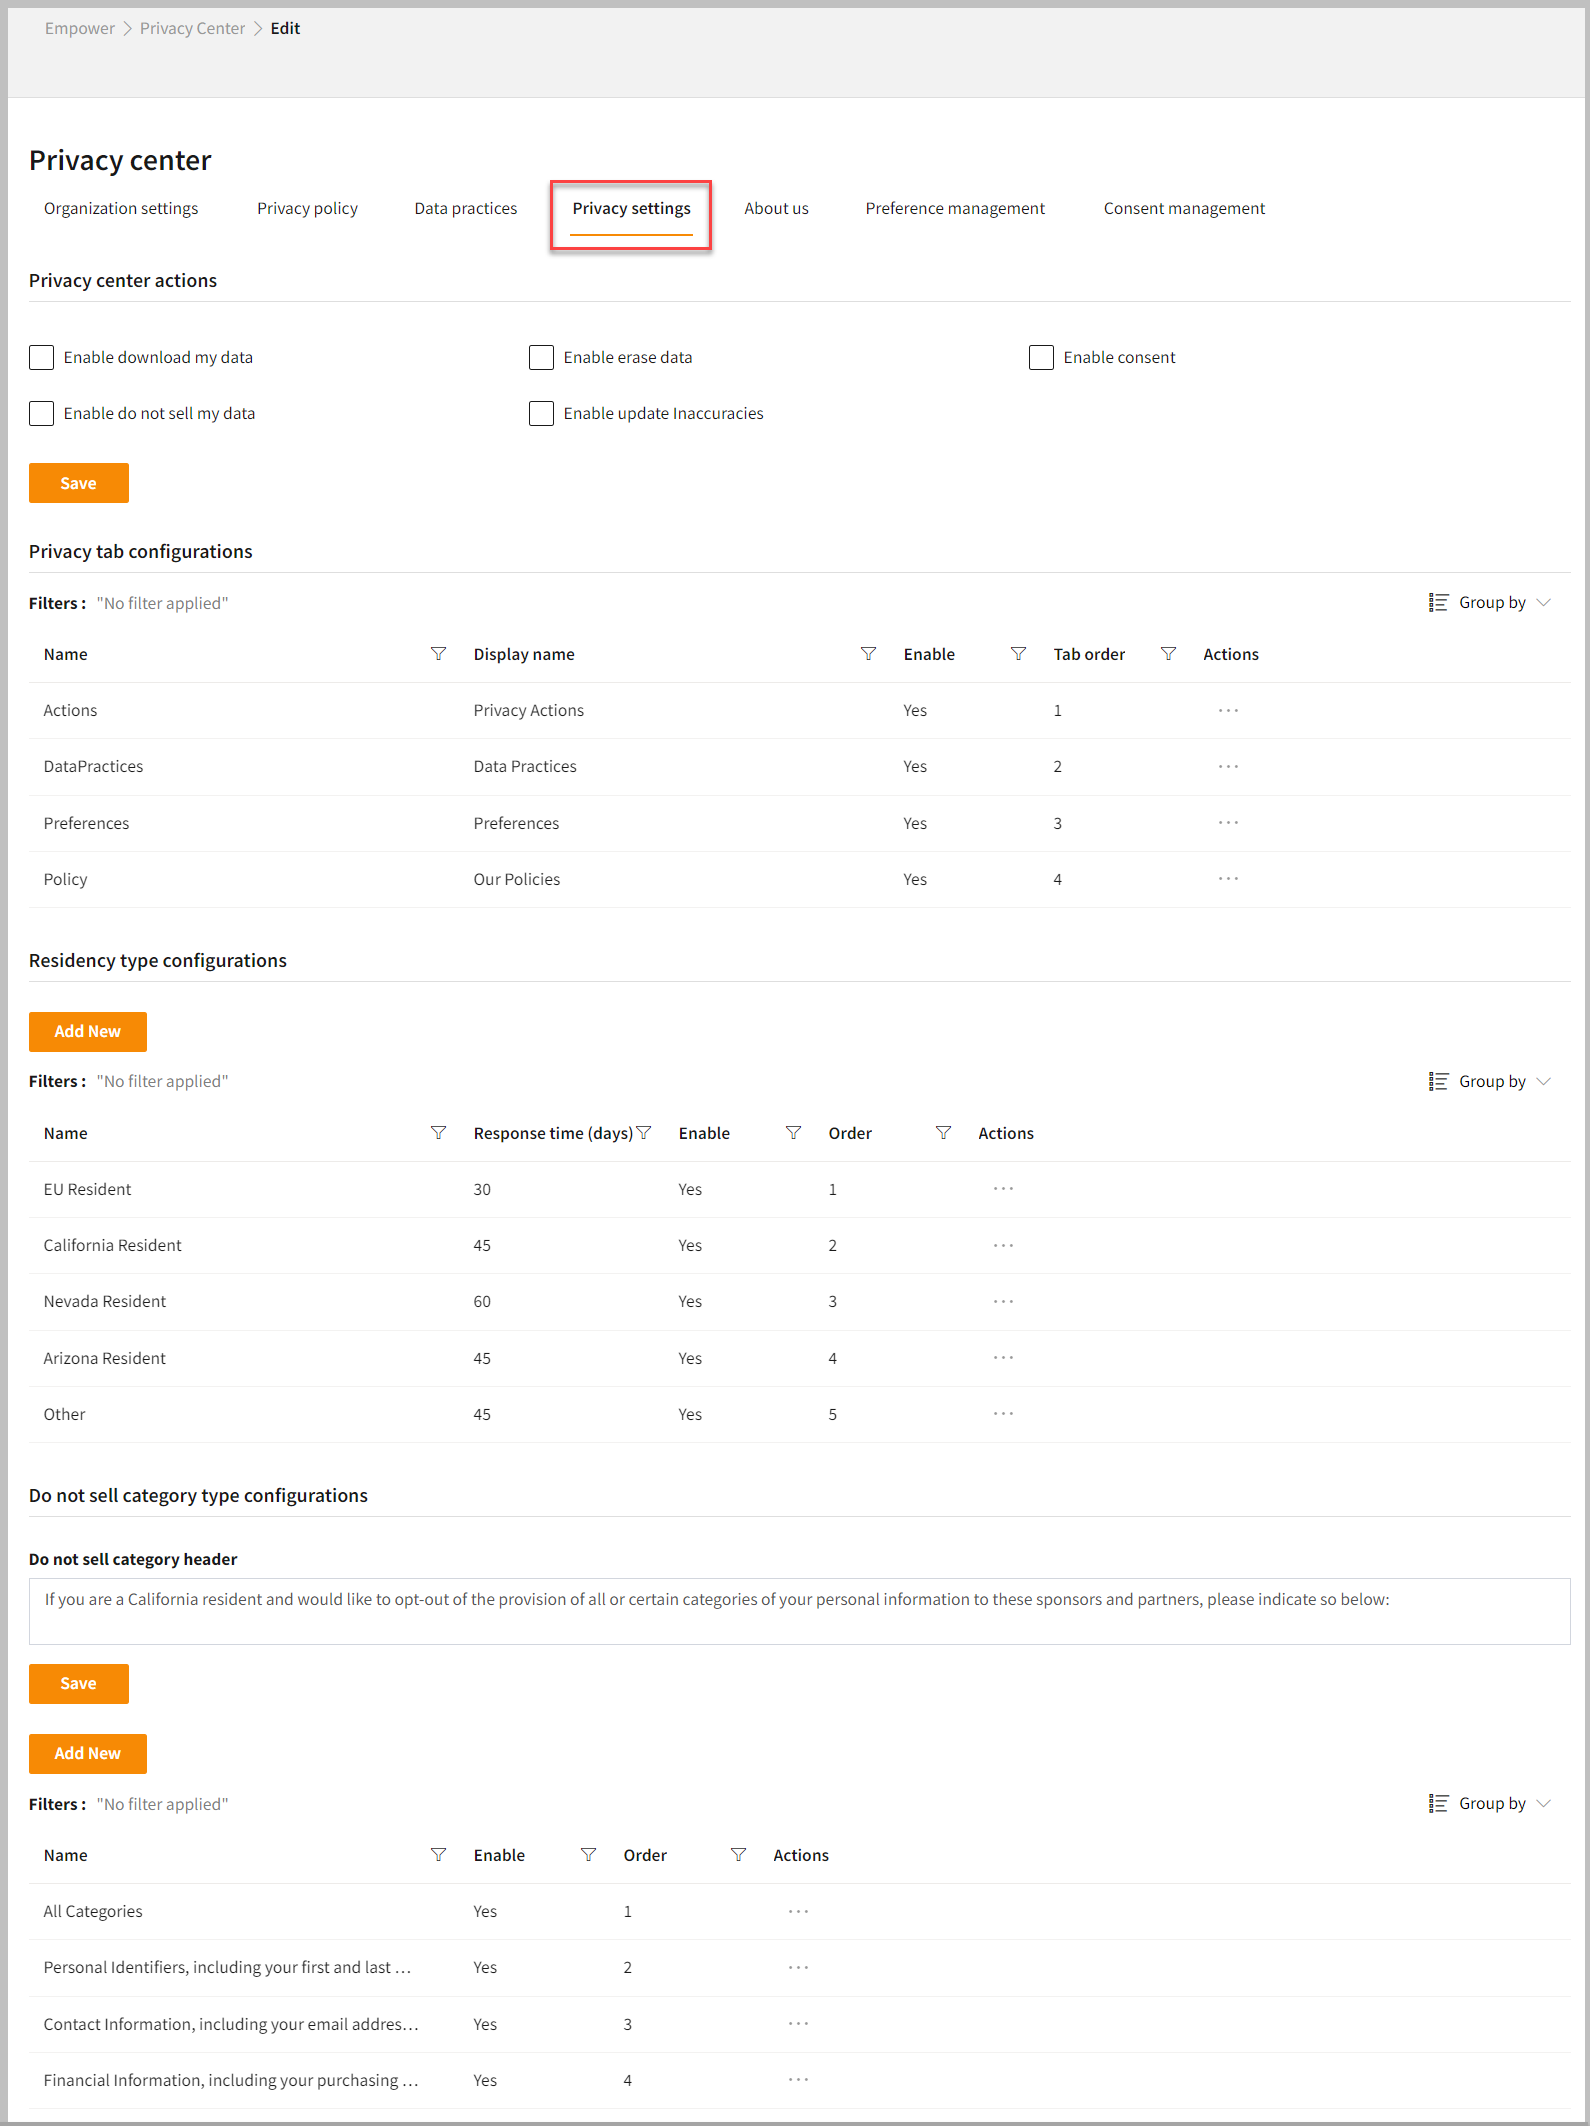
- Select the Privacy center actions you want to display on your Privacy Center website.
| Privacy center actions | Description |
|---|---|
| Download my data | Enabling this feature will let the end-user download and use the data. |
| Erase data | Enabling this feature removes all the data associated with that user. |
| Consent | Enabling this feature will let the user consent to all the actions. Consent Management empowers users to understand and exercise their data rights. |
| Do not sell my data | Enabling this feature will restrict the platform to sell or share any user’s data with third parties. |
| Update inaccuracies | Enabling this feature will help to update the inaccuracies in data sources as per the Data subject requests from the end users on the privacy portal. |
- In the Privacy tab configurations, you can define the Display Name and Tab Order.
- In the Residency type configurations, you can add or modify the Name, Response Time, and Order of the residency type.
- You can add or modify the Do not sell category header. Click Save to apply your changes.
About us, preference management, and consent management
Consent and Preference Management will help you consolidate your data and prioritize your relationship with customers by centralizing collected consent. A consent and preference policy also allows the business to track where and when consent is required and obtained; building trust with the customer, while allowing the business to better market according to what the consumer wants to receive and how they want to receive it.- In the About us tab, you can add content that introduces you, your brand, and your team.
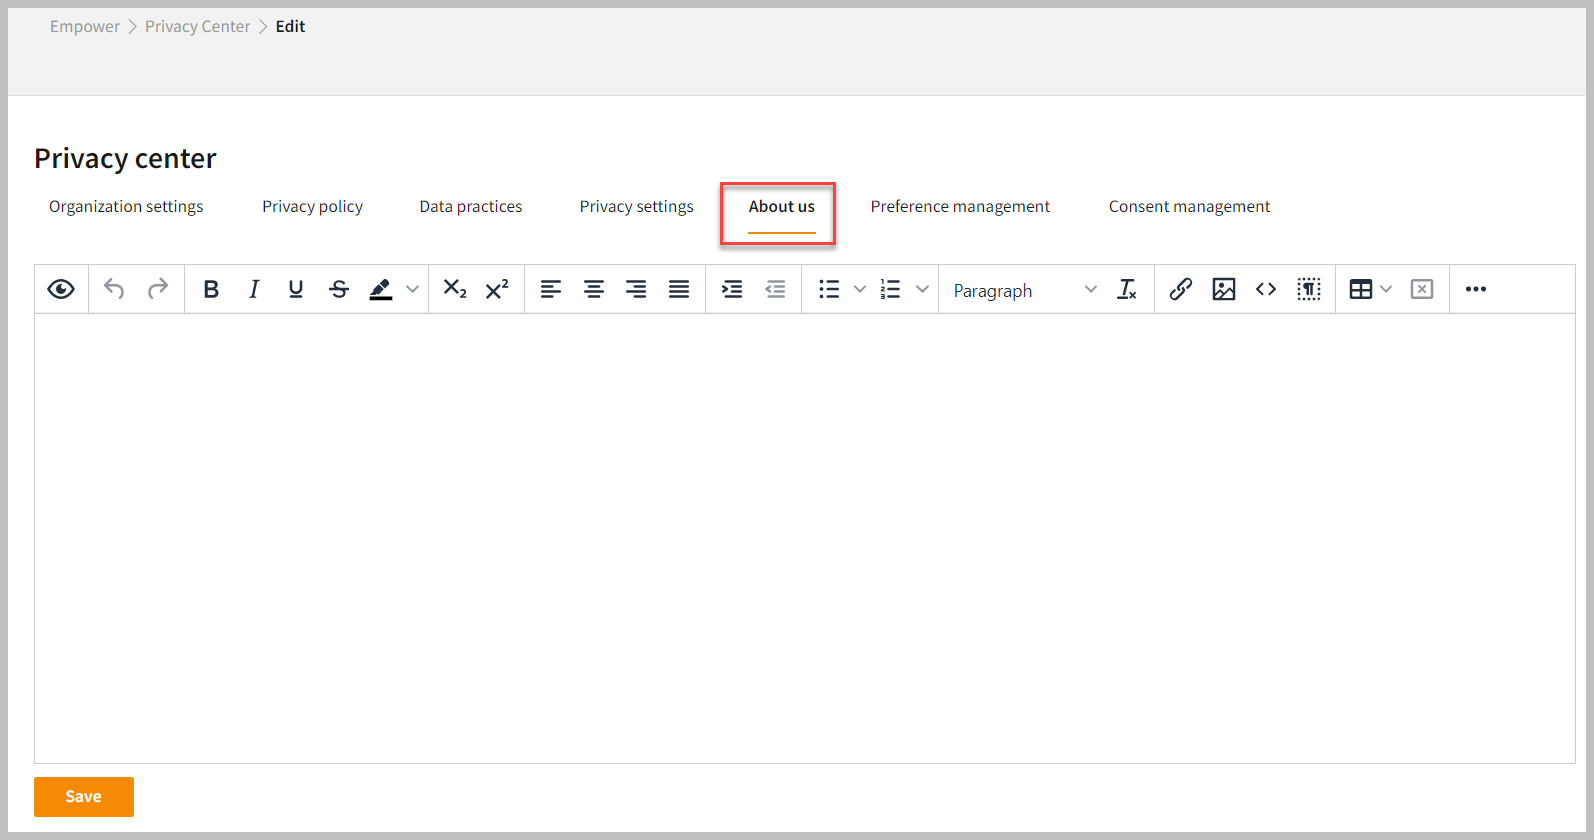
- Click Save.
- In the Preference management tab, select the preferences you want to display on your Privacy center website. It covers the aspect of serializing the different activities in order of their preference. A toggle switch is provided to include or exclude any activity as per your need.
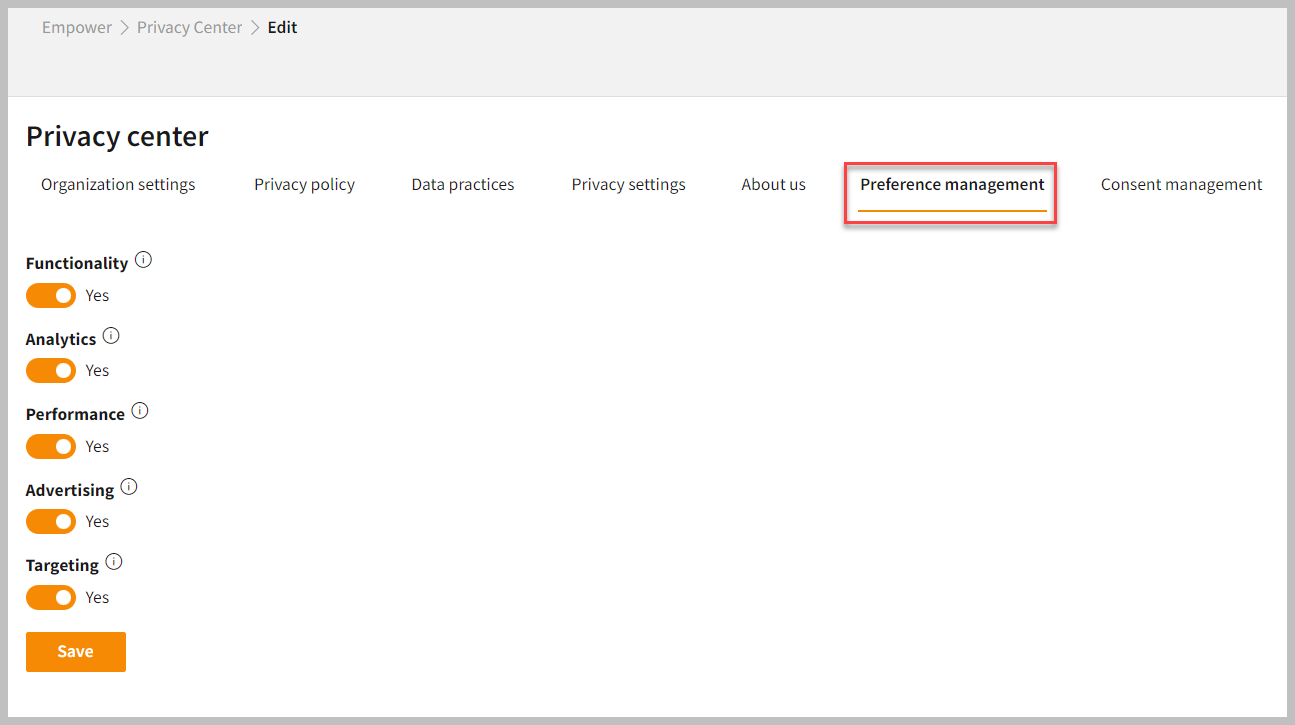
- Click Save.
- In the Consent management tab, you can explain the benefits and safety of using the platform and at the same time protecting and restoring the information at all costs.
- Click Save.
Rearrange Update inaccuracies fields
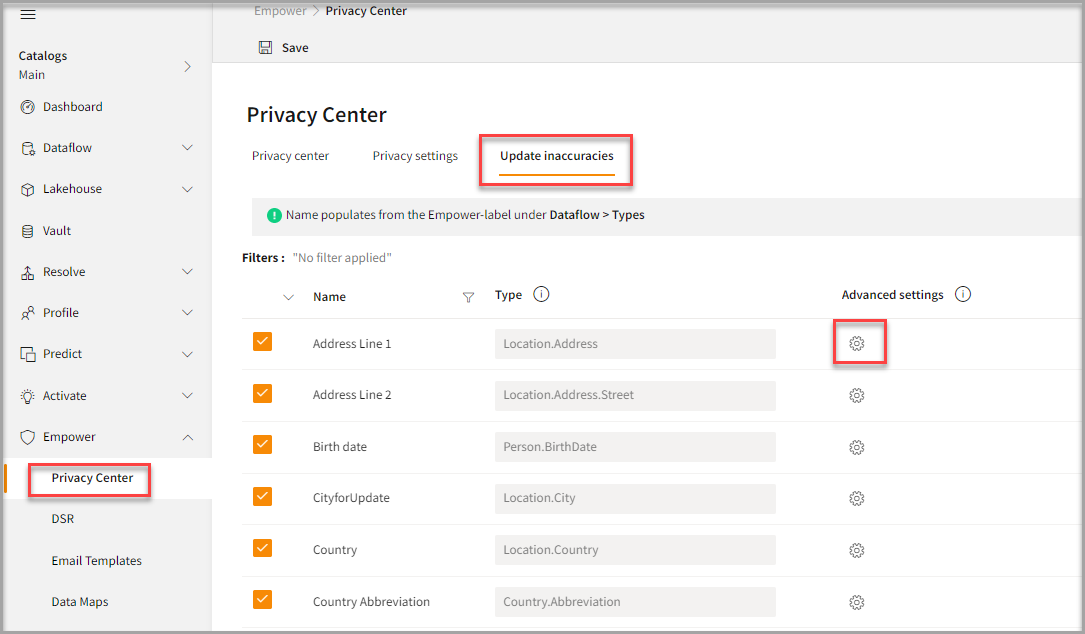
You can rearrange the order of Update inaccuracies fields displayed in Privacy center. Follow below steps:- Go to Privacy Center > Update inaccuracies.

- Click Order drop-down list for your desired field.
- Select the desired order for your field.
- Click Save.
The selected order cannot be the existing order for Update inaccuracies field.
- You can reset your selected order by clicking Clear all and then Save.
Add data and metadata for attributes
End users can update the inaccuracies in data sources as per the Data subject requests from the privacy portal. If you want to add data and metadata for your attributes on the privacy center website, follow the below steps:- Go to Privacy Center > Update inaccuracies.
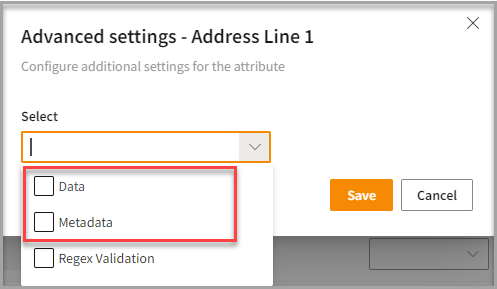
- Click Advanced settings for the attribute.
- Select Data or Metadata from the drop-down list. Data configuration implies the attribute has a predefined dataset available. Metadata configuration relies on the user-defined. You can add comma-separated data values for the Metadata in the provided field.
| Item | Description |
|---|---|
| Data | Allows you to use a list of items from an API. |
| Metadata | Allows you to add comma-separated values. |
| Regex validation | Allows you to set the regex validation for validating the text. |
- Click Save to apply your changes.
Regex validation for Update Inaccuracies
You can add validations for the inputs in Update Inaccuracies fields. Follow below steps:- Select Regex Validation in the Advanced settings pop-up.
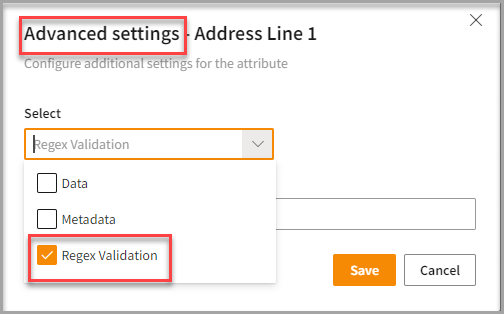
- Enter a Valid regular expression in the text area.
- Click Save.